Do you want video for your business? You should. The benefits of it are plentiful and the industry and our waning attention spans are moving towards that direction. The ability to tell a story, communice punctually and the transparent nature of video can become a competitive advantage for you and your firm. However, just having video won’t do—it needs to be done well.
Do not be intimidated though, creating a powerful video does not require anything like a Red 4K Camera, a three-point lighting setting up with an ARRI kit or any video jargon and major equipment. Hiring a production company is also entirely unnecessary as you can pull this off all on your own with a limited budget. Here are some processes in the video production process and the types of equipment you will need in order to produce professional looking (and sounding) video.
Pre-Production
The dreaded pre-production. It is not the most flashy part of production but is crucial and where you lay the foundation of your new video. The most important aspects of pre-production for you to take away are script-writing, art direction and pre-visualizing your content. A rule of thumb for writing for business video that we've found is that one half page is the rough equivalent of a minute in our video. You should also write around ideas and concepts as the tendency to ad-lib when in front of the camera is prevalent and encouraged.
Pre-visualization and art direction go hand in hand. The basic premise here is: how do you want your video to look? Where do you want it filmed? What camera angles do you want? And do you want B-roll? Having an idea and planning the look in advance will save you from losing direction on a video project.
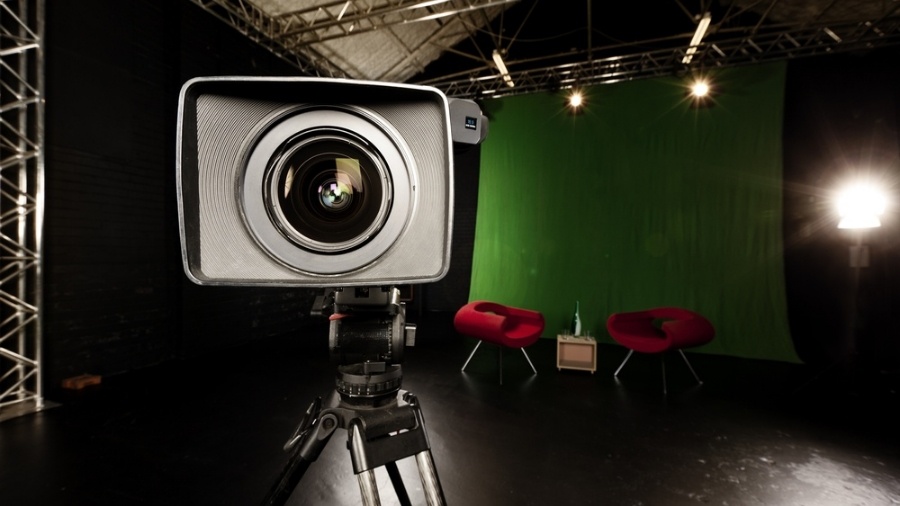
Video
So what should you use to shoot your video on? Depending on your budget, you can get away with an iPhone 6. Yes, that’s really all it takes. BUT, if you want truly sharp looking video, a Canon DSLR will give you the uber professional look for roughly $500. Also invest in an appropriate tripod and a mount for the tripod if you’re using an iPhone.
Video shot on an iPhone 6:
Video shot with a DSLR:
Sound
The most often overlooked aspect of video production is sound. It is a shame, because it can make or break a video and people often never think twice about it. We’re here to remind you and to make sure you don’t forget. Using the onboard camera on your iPhone or DSLR is not advised and can come across tinny and distant. We suggest using another iPhone as your mic or investing in a decent shotgun mic/recorder combo, which will cost you about $300.
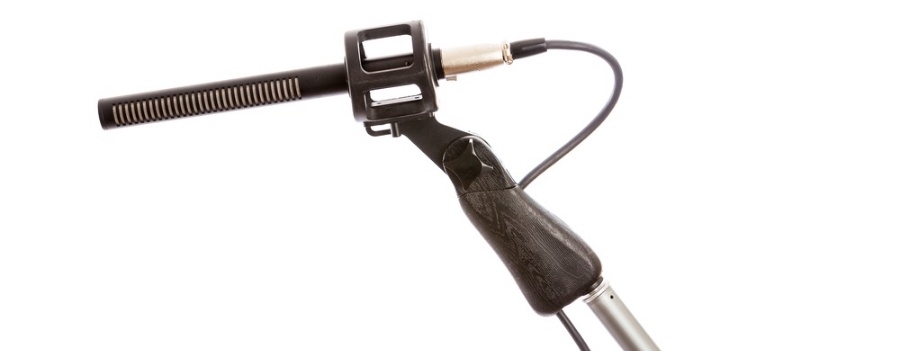
Positioning the mic and having an ear for your surroundings is key. Make sure there are no interfering noises, make sure there is no echo and make sure you get the sound recording device as close as possible to the subject without being in frame.
Lighting
Lighting is a necessity to get the video looking pristine. Fortunately DIY alternatives will only set you back $100 of your budget and will yield powerful results. Following DIY lighting kit alternatives, you’ll often come out with three lights. Use one light as your “Key” light and set it above eye level and directly diagonal of your subject. Use a second “Fill” light opposite the Key and play with it so you get a good balance. Lastly, position a “Back” light behind your subject to give your video depth.
When lighting, keep your subject as far from the wall as possible so you don’t get cast shadows on your backdrop or background. Also remember to turn off all “House” lights when filming!
Post Production
Putting the video together in editing software may be the most intimidating part of production. With that said, there are user friendly options out there such as Camtasia or entry level variations of Sony Vegas, Adobe Premiere and Final Cut. With Camtasia you’ll get the user friendly software experience but be set back $300. With the entry level variations of of Adobe Premiere and the lot, you’ll pay $75-100, but have a slightly steeper learning curve (though with more flexibility within the software).
A process for putting your business video together will look something like this: Sync the audio and video files. Cut out bad takes and mishaps. Edit together good shots/takes. Review and make sure it flows. Put in a “bed” track (a soundtrack that plays at a low volume to subtly undertone and liven up the video). Add in a Fade In and a Fade Out at the beginning and end. Review it. Export it.
In the end, always ask yourself this: Does this look good? Does this sound good? Does this work? We’ve been exposed to excellent video and film our whole lives, we know what looks good. If what you’re doing looks good, then keep going! If not, reassess and maximize a process that works for you.